This guide fits for a Logitech G810 and maybe also some more keyboards like the G610
After using my Logitech G810 gaming keyboard for four years, some problems occurred with the shift key on the left side. By the way, I’m using a German layout. For me, it’s not surprising that this is one of the first keys which starts making problems, because beside the W-A-S-D keys and some others it’s the most frequently used.
The problem itself was a switch which responded very unprecisely. This means sometimes it worked and sometimes it didn’t which was very annoying. So I decided to help myself before buying a complete new keyboard for 150 Euros or more. The 50/50 chance of breaking it completely or having a working keyboard again totally paid off in the end.
After I did some research I found out that there are many sellers on ebay and Amazon who sell used Romer-G switches from other keyboards which are in very good condition. I bought two of those switches for 6 Euros on ebay (which were not needed in the end but this comes later).
Then I watched some videos on YouTube to see how to open the keyboard itself which is a little bit tricky but in the end no problem at all.
DISCLAIMER: I’m not responsible for any harm or damage happening while following this repair guide. This guide is only provided like it is. No guarantee at all. You are doing everything at your own risk!
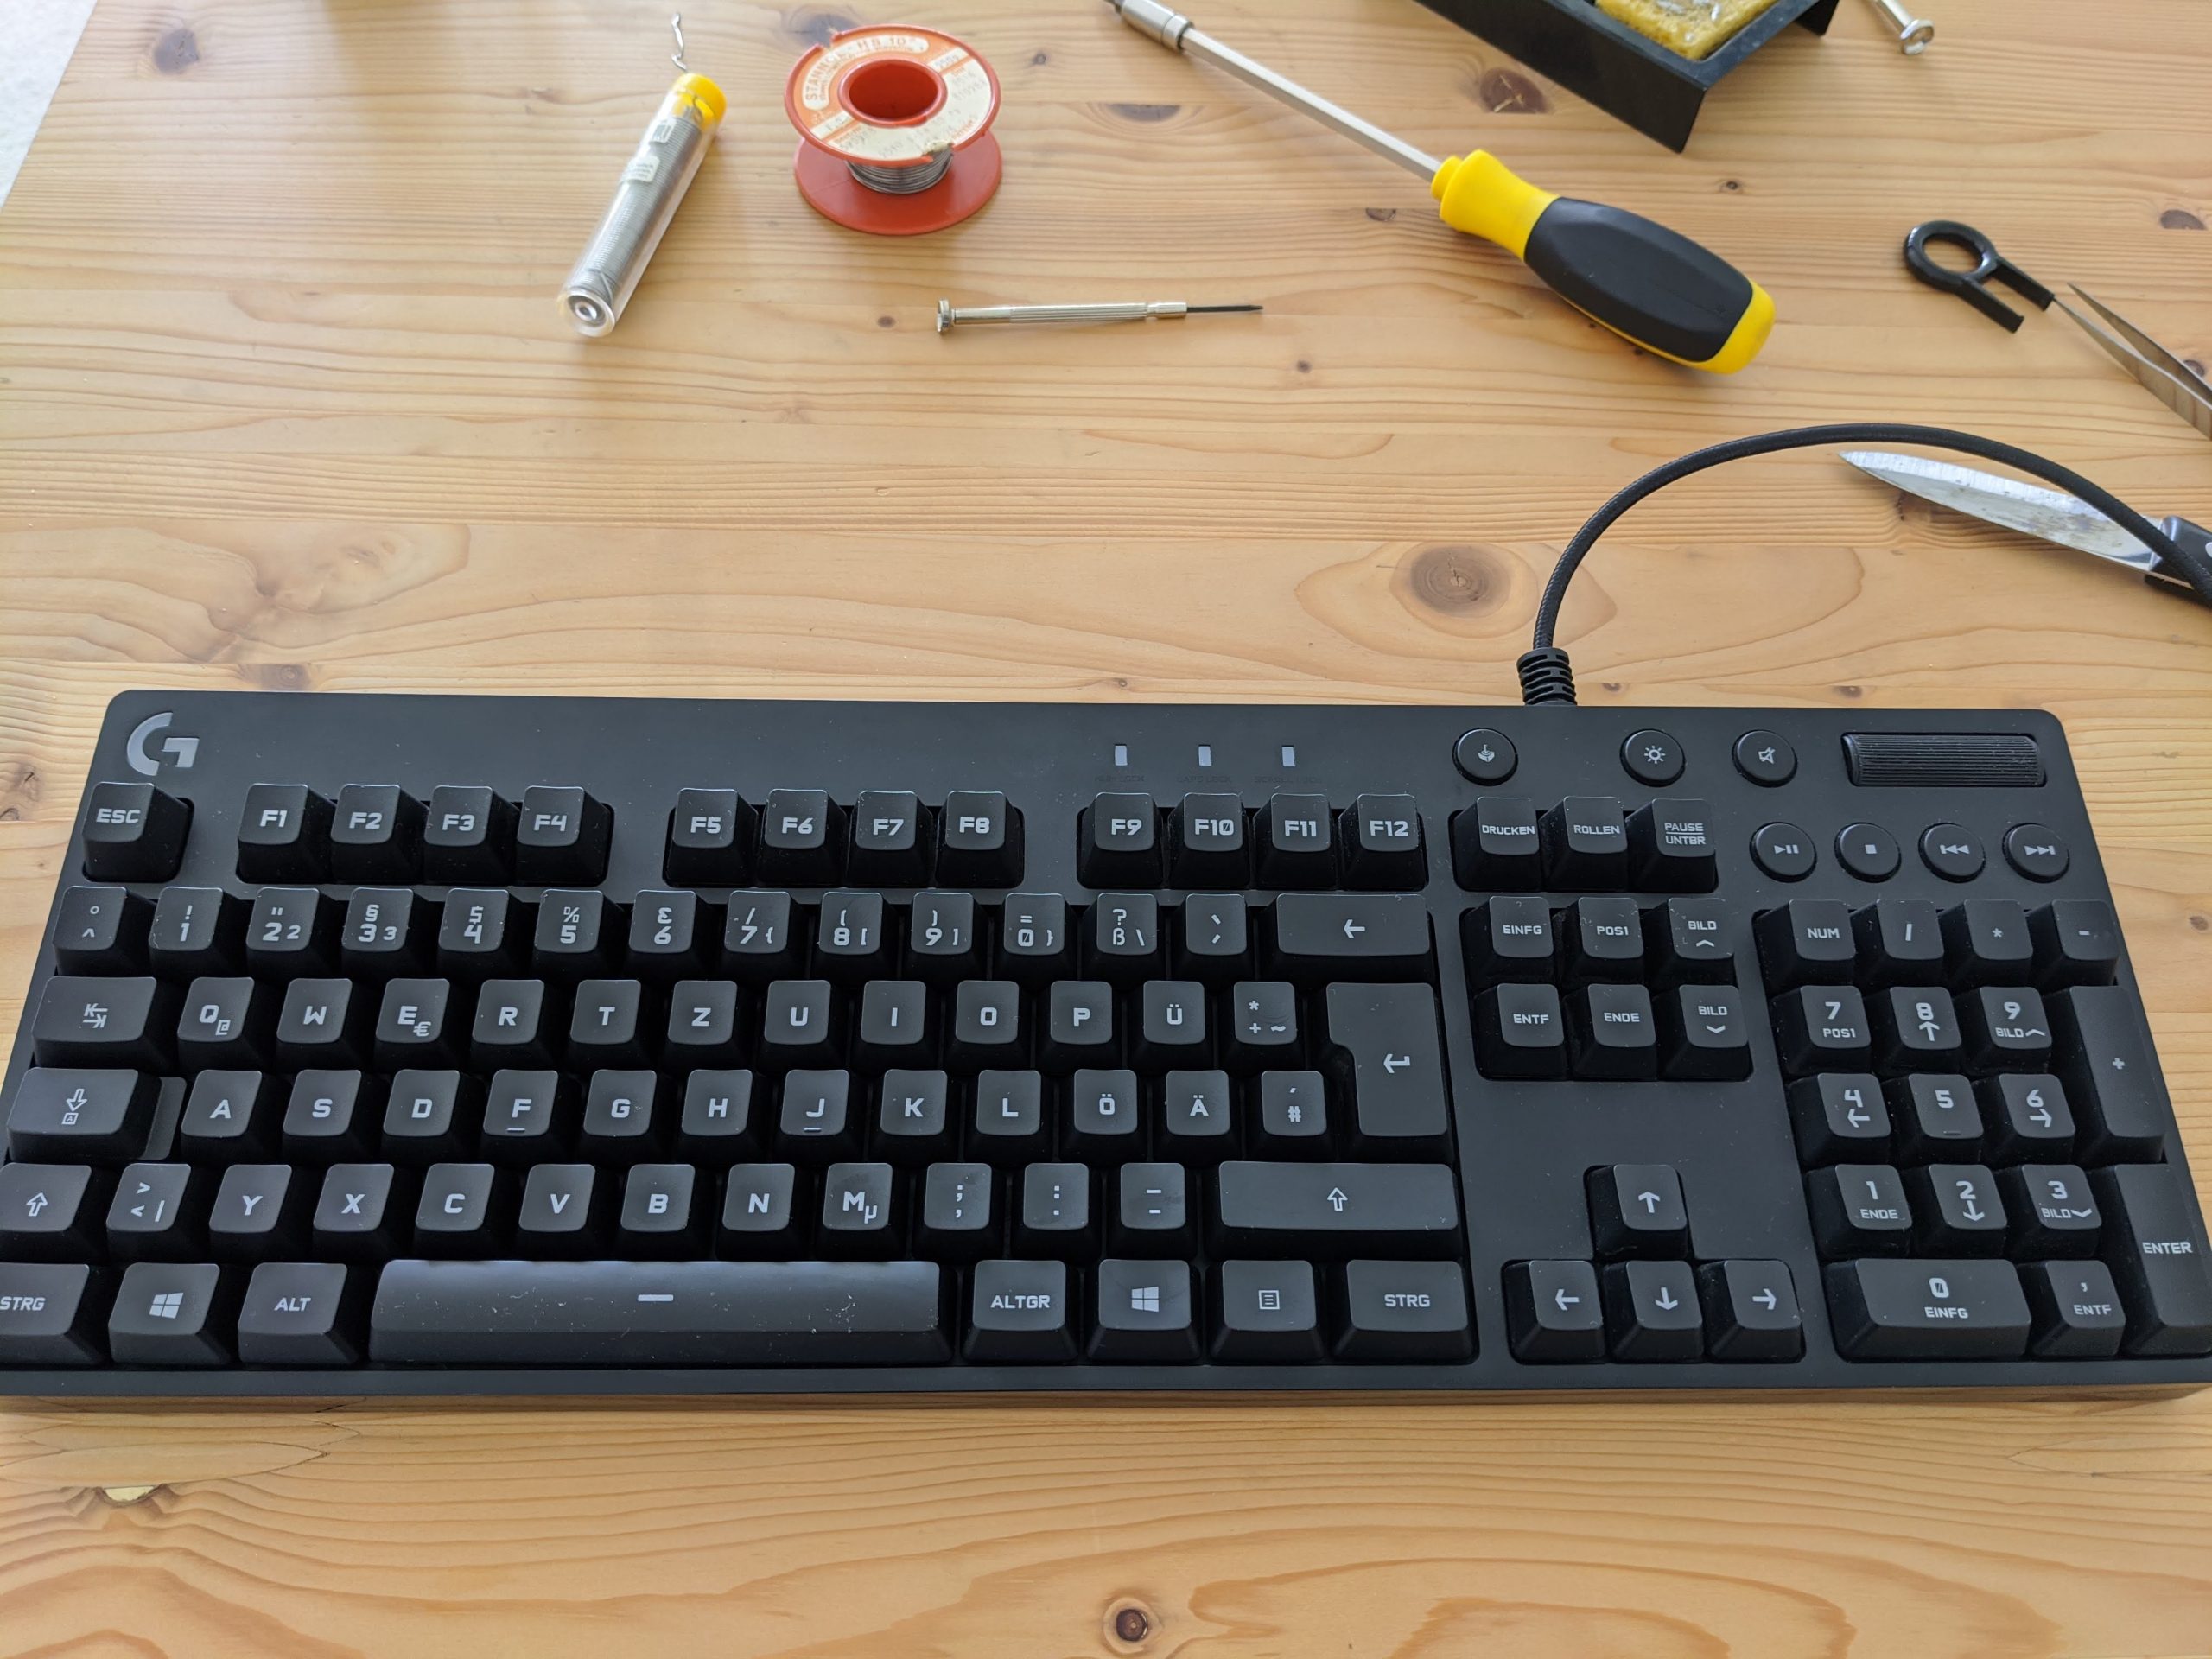
So here is what you need to repair your keyboard:
- Logitech Gaming Keyboard with a broken switch
- solder and a soldering iron
- desoldering pump
- screwdrivers
- knife
- hairdryer
- and some time: about 60 to 75 minutes
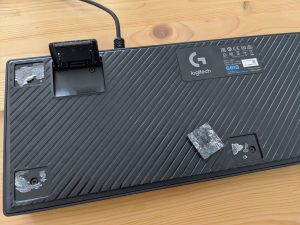
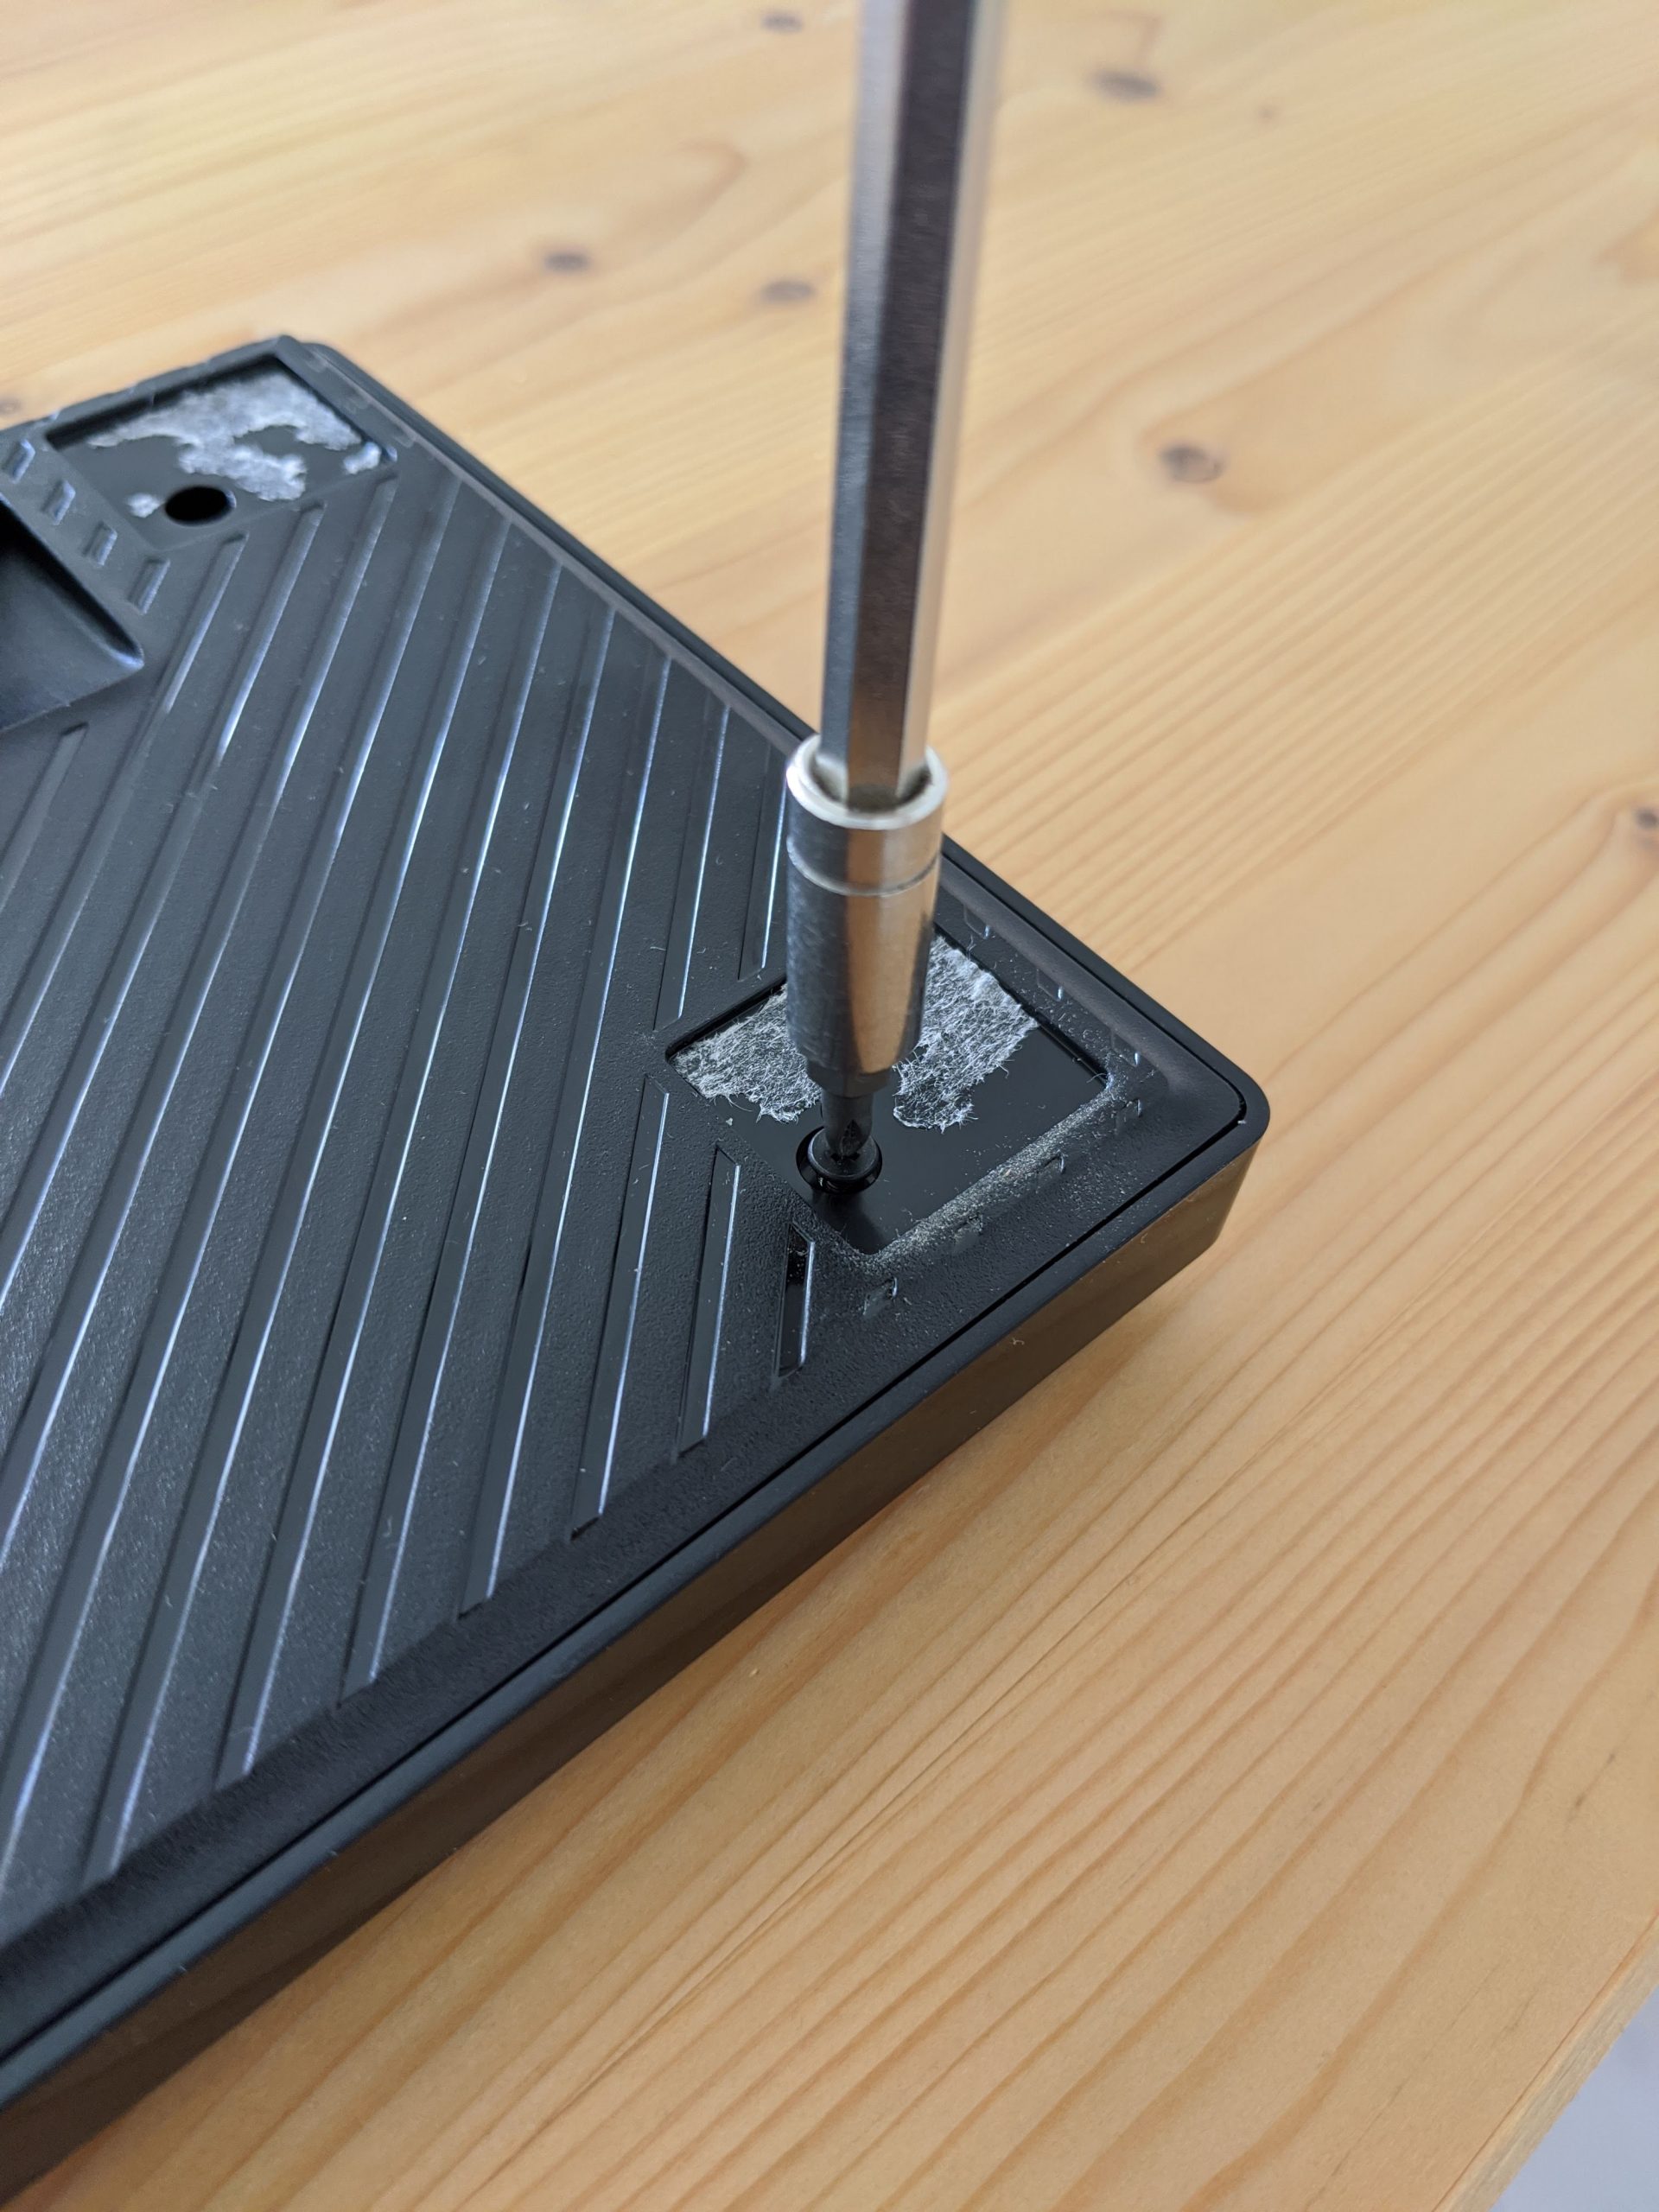
Step 1: Preparing your keyboard
At first, you have to remove those rubber pads on the backside because there are some hidden screws. There is another screw hidden behind the label (shame on you, Logitech). The label can be lifted after you use your hairdryer to give the label some heat which makes it easier to peal off a little bit. You don’t need to remove the label completely and a knife is very helpful!


Step 2: Remove the screws
After you can see every screw, remove them. Remember where which screw was placed because Logitech used two different types here.

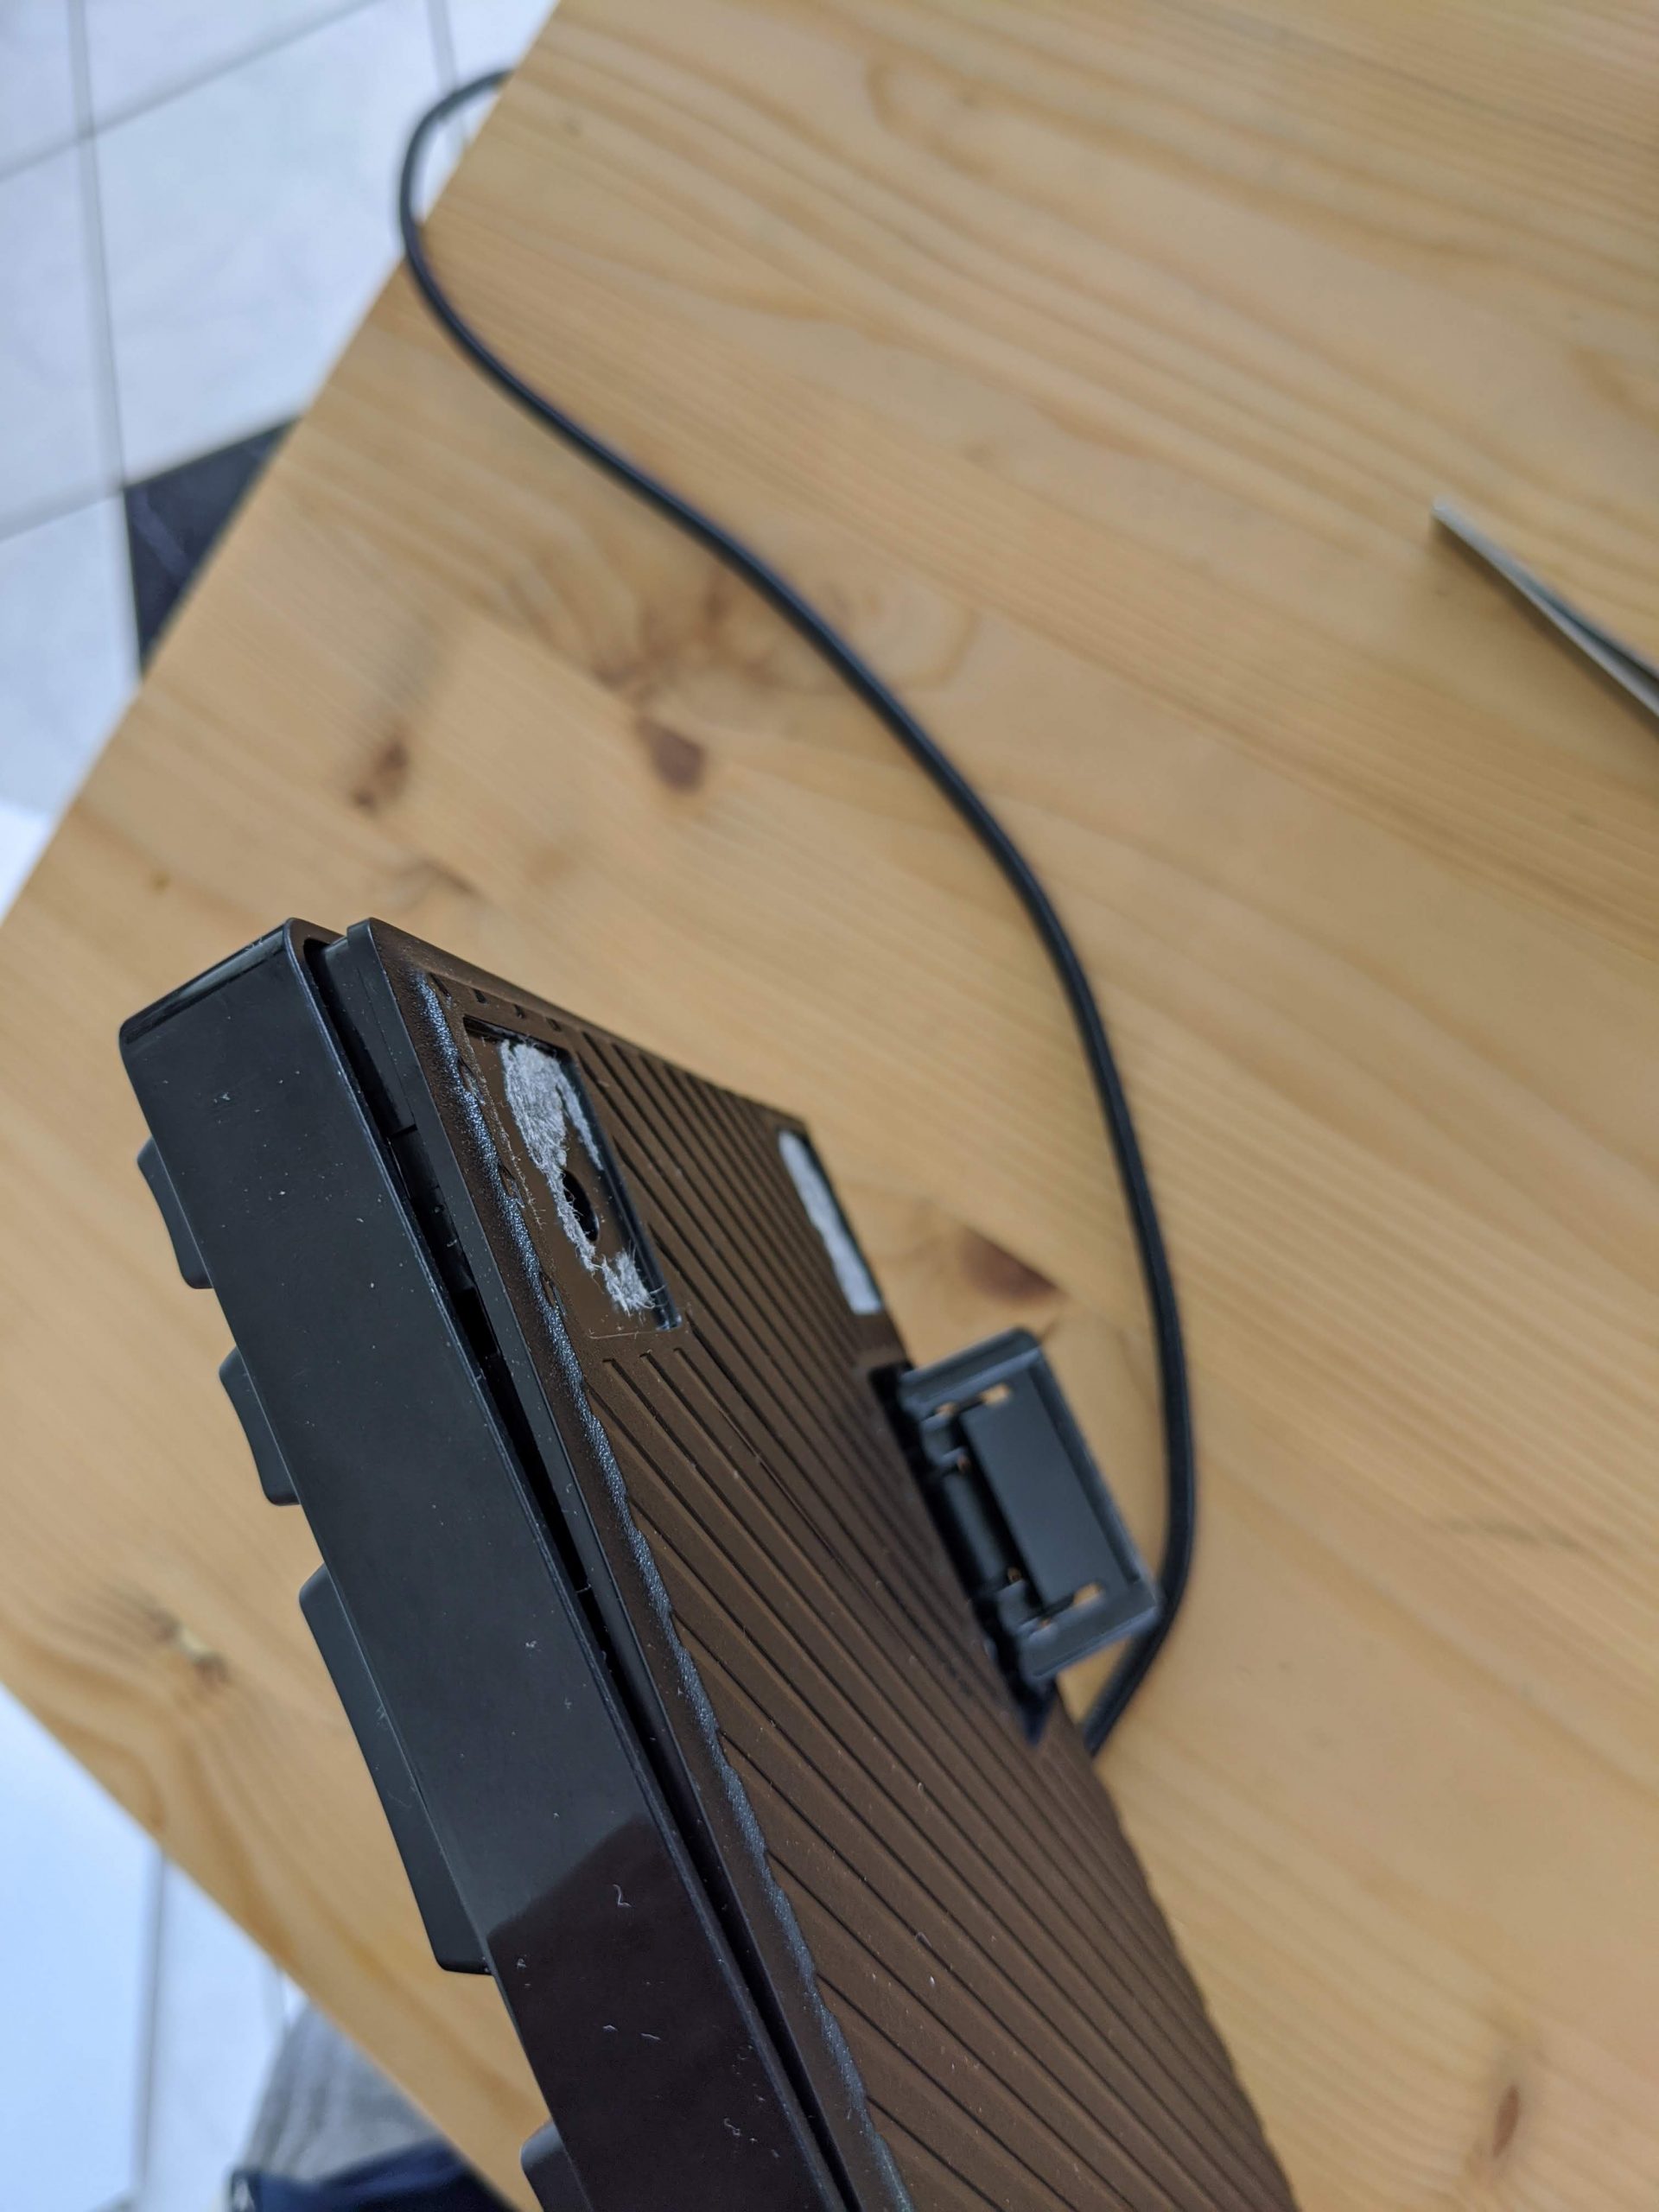
Step 3: Remove the backplate
This step needs some time and courage. The backplate is not only mounted with screws, there are many snap-in points which need to be snapped-out carefully. I started at the lower left corner and used a small screwdriver to do this. An opening tool out of plastic is maybe also helpful.
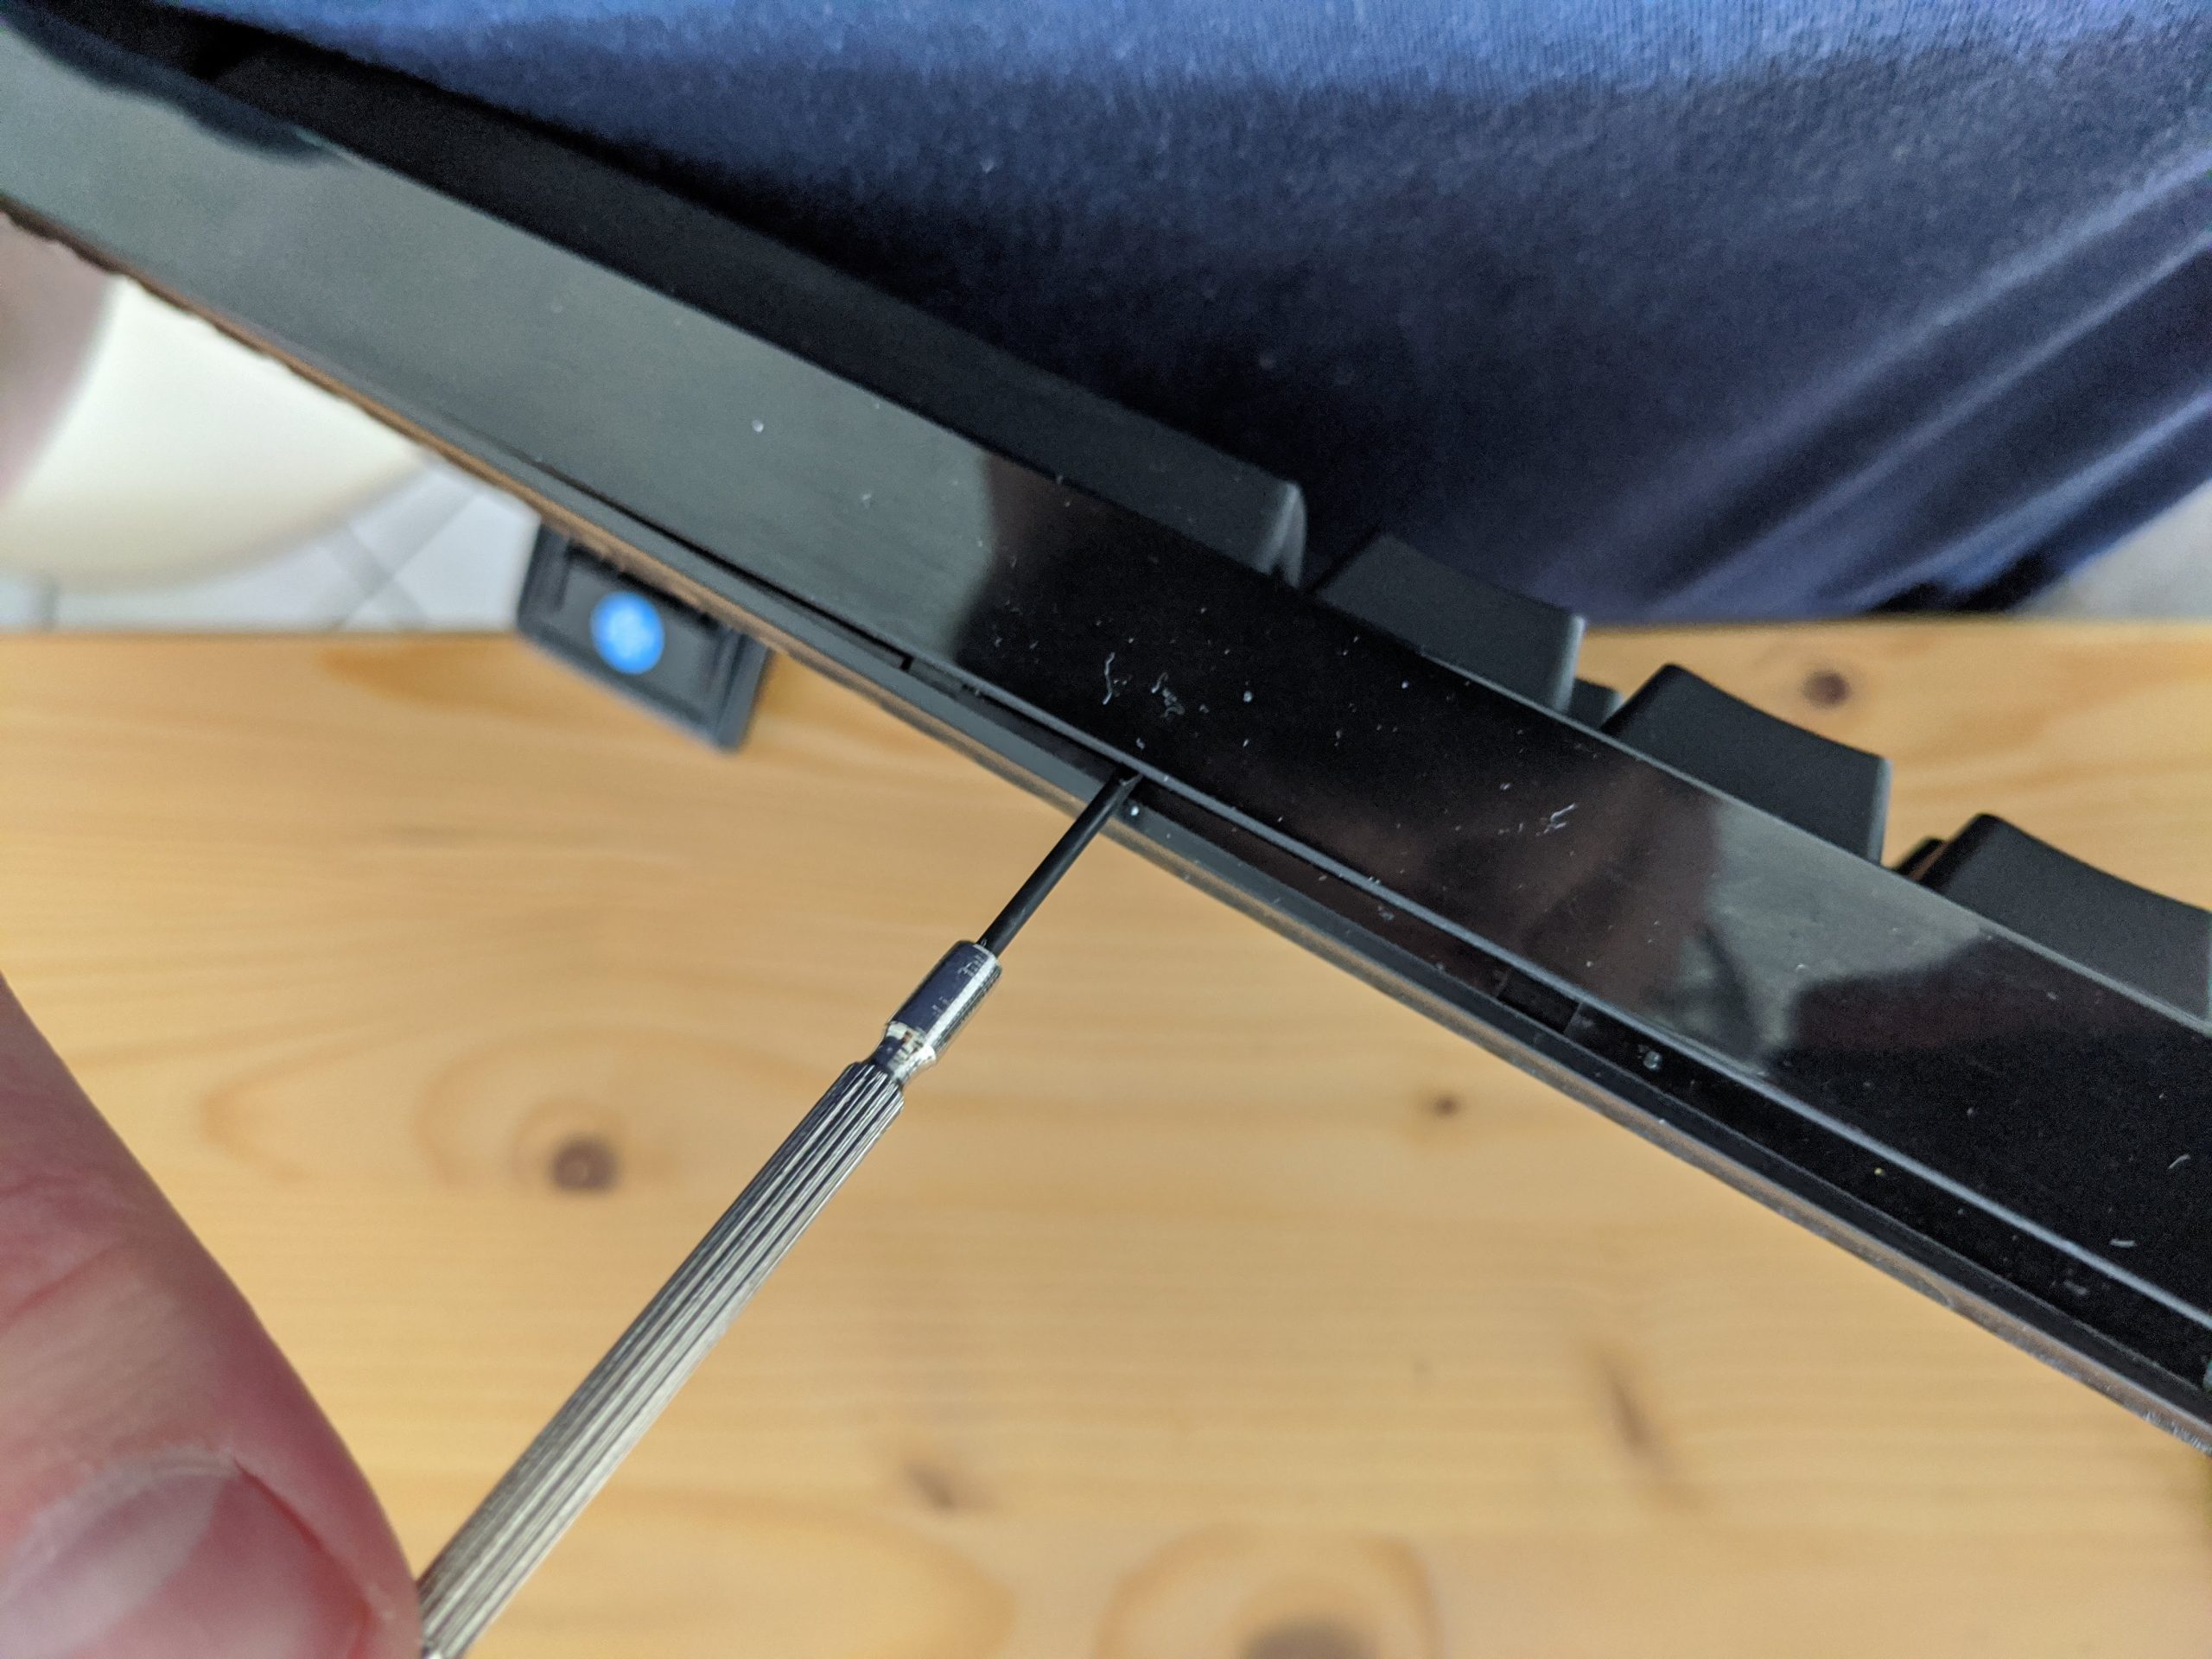
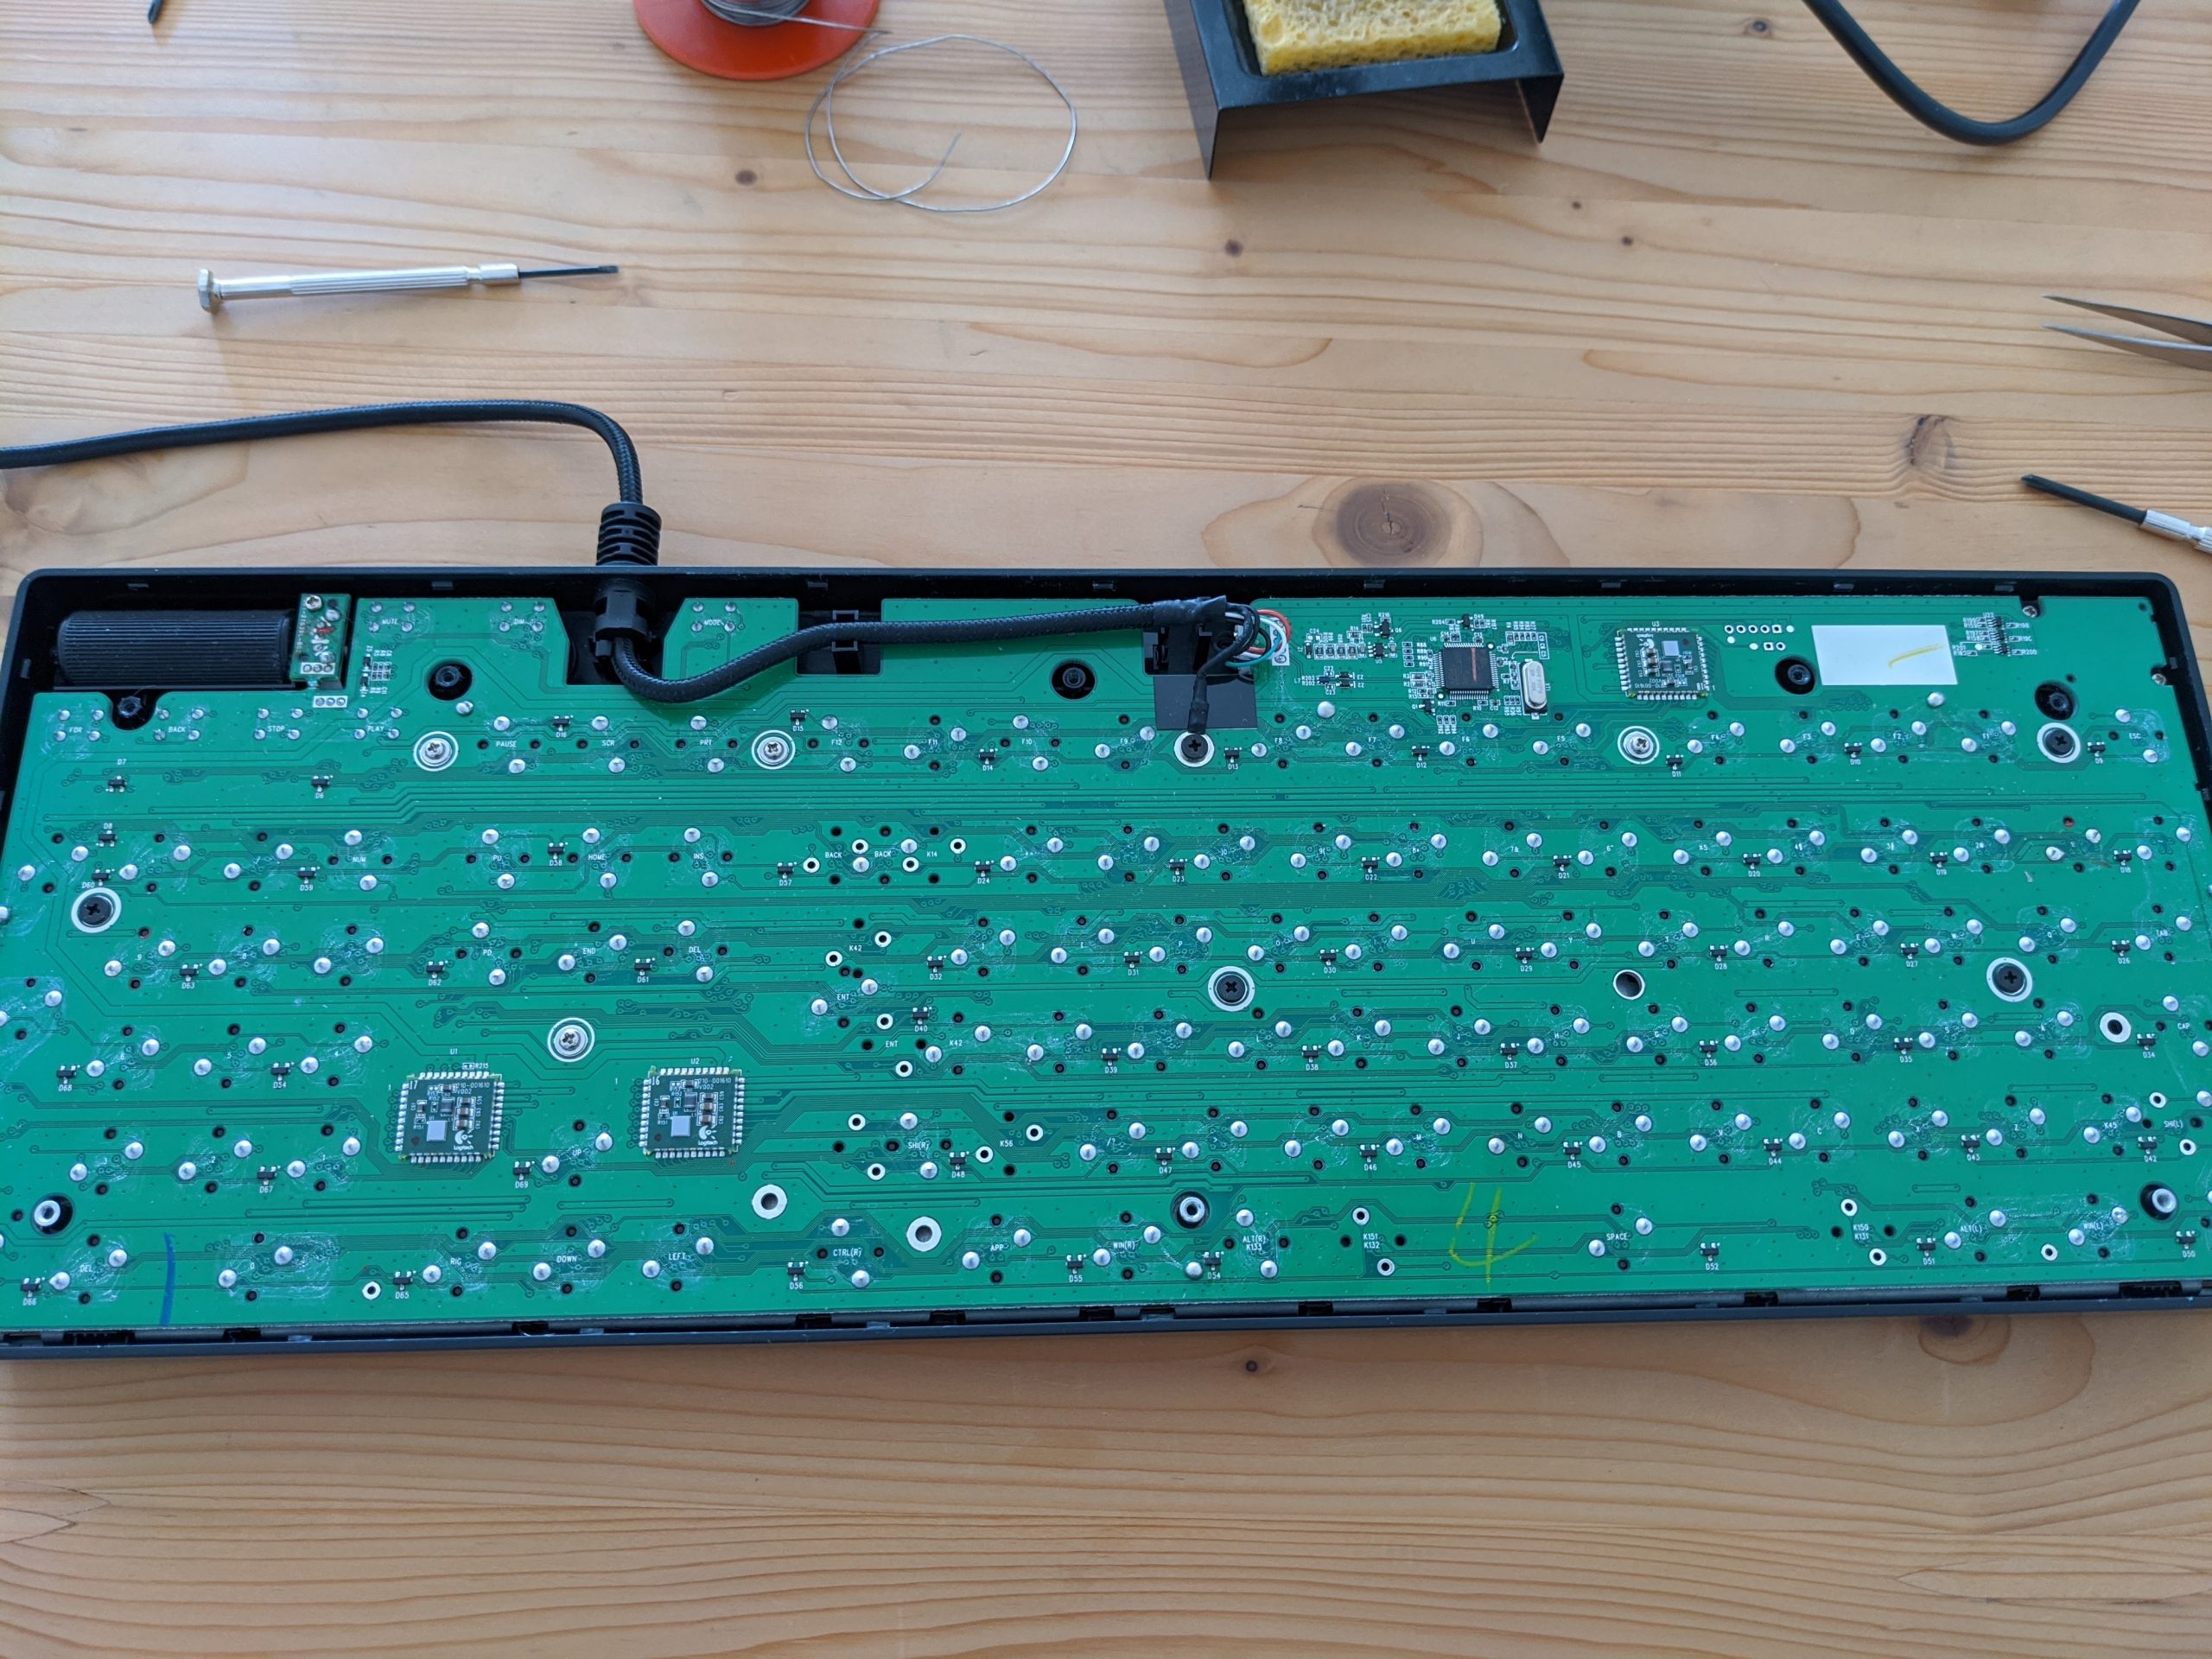
Step 4: Desolder the switch
After you have removed the backplate, you will see the back of the circuit board where all switches are soldered. Logitech was so nice and named every switch on the board so it’s very easy to find the one you want to remove.
Before you turn on your soldering iron, remove the key cap of the switch you want to remove and then start to heat the two pins of the switch. With the help of the desoldering pump, remove the solder as precisely as possible. The switches are mainly fastened by the solder and a little bit with two snap-in points. Now, turn around the keyboard and with the help of a small screwdriver remove the switch from the board.


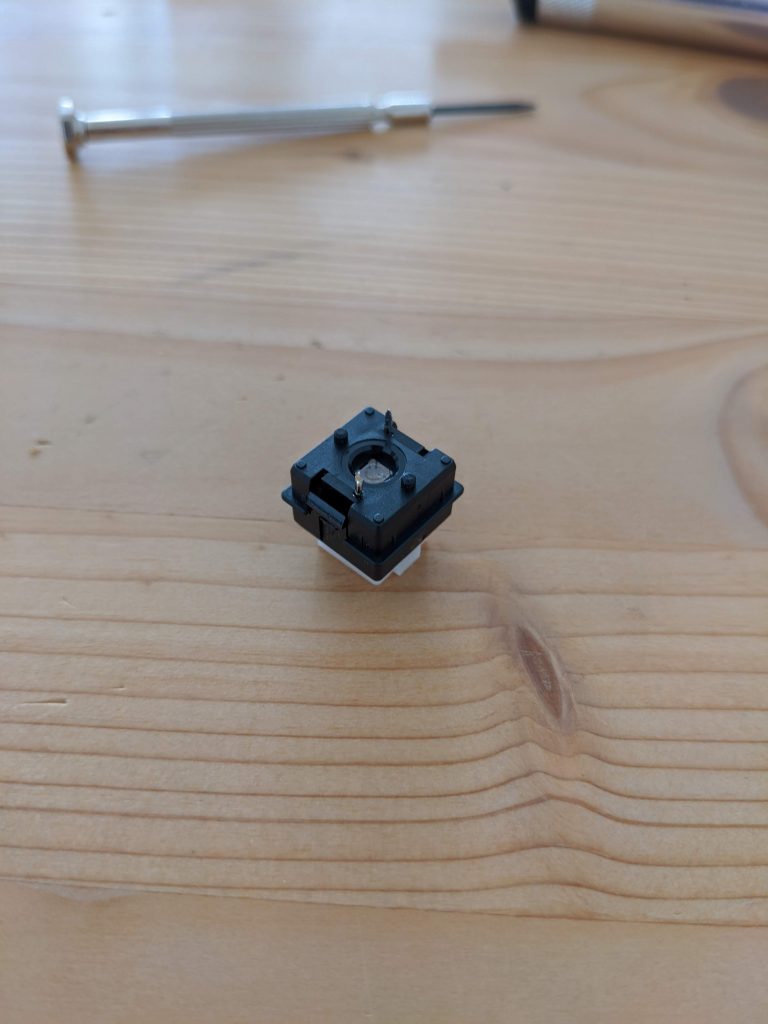

Step 5: Solder the replacing switch
This step is very easy. Place the new switch and solder it. Polarization is not important.
Extra tip: If you don’t want to buy a switch from ebay or from somewhere else, you can exchange the switch with another one on your keyboard you don’t frequently use. This is what I did. Because my switch was working most of the time (but not every time), I exchanged it with the switch of the key „PAUSE“. I don’t remember the last time I used this key 🙂

Step 6: Putting everything together again
Maybe it’s a good idea to check if everything works as expected, before you put the backplate and screws together again.
I hope I could help you with this guide 🙂 Good luck!